Printable itinerary
Tasmania: Hobart, Freycinet and Cradle Mountain
8 days · Hobart to Launceston · up to 12 guests
From CAD 4,840 per person, sharing a room (estimated price. Estimated price. The itinerary, hotels and availability are proposed and subject to confirmation. Your quote will set out the booking conditions; sending a request does not confirm a booking.)
Black Friday offer: 15% off the small-group price for requests received by Dec 1, 2026. From CAD 4,840 per person. Dec 2 to Dec 31: from CAD 5,240. From Jan 1, 2027: from CAD 5,695. The offer ends at 11:59 pm Toronto time and is for the small-group style only.
Day by day
Itinerary
- Hobart2 nights
- Coles Bay (Freycinet)2 nights
- Launceston1 night
- Cradle Mountain2 nights
- Launcestonend
- Overnight stop
- Day trip
- By boat or train
Day 1: Arrive in Hobart, MONA by ferry
Hobart Airport to your hotel, then the ferry up the Derwent River to MONA and back
- Drive about 30 min
- Welcome dinner
- Stay in Hobart
Day 1 details
Fly into Hobart Airport (HBA), about 20 minutes east of the city, and plan to land by about 12 noon; flights from Melbourne take a little over an hour. A driver meets you and takes you to the hotel near the waterfront. After a short hello from your See Sight Tours guide, we walk to Brooke Street Pier for the ferry up the Derwent River to MONA, the Museum of Old and New Art, about 25 minutes upstream at Berriedale. The museum is cut into a sandstone peninsula and most of it lies underground: ancient coins and Egyptian antiquities share the floors with contemporary work that is meant to provoke. Your guide gives you the lay of the land, then you explore at your own pace for about three hours. The ferry brings us back to the docks in the late afternoon, and the welcome dinner is a short walk from the hotel, with Tasmanian seafood on the menu.
Included
- Pick-up at Hobart Airport (HBA)
- Return ferry from Brooke Street Pier to MONA
- MONA entry
- Welcome dinner
Easier option: Skip MONA and rest at the hotel or walk Salamanca Place and Battery Point until dinner.
Free time: Time on your own inside MONA
Activity: Land by about 12 noon to reach the MONA ferry. MONA closes on some weekdays, so we set start dates on its open days. If you land later, arrive a day early and see the museum on your own.
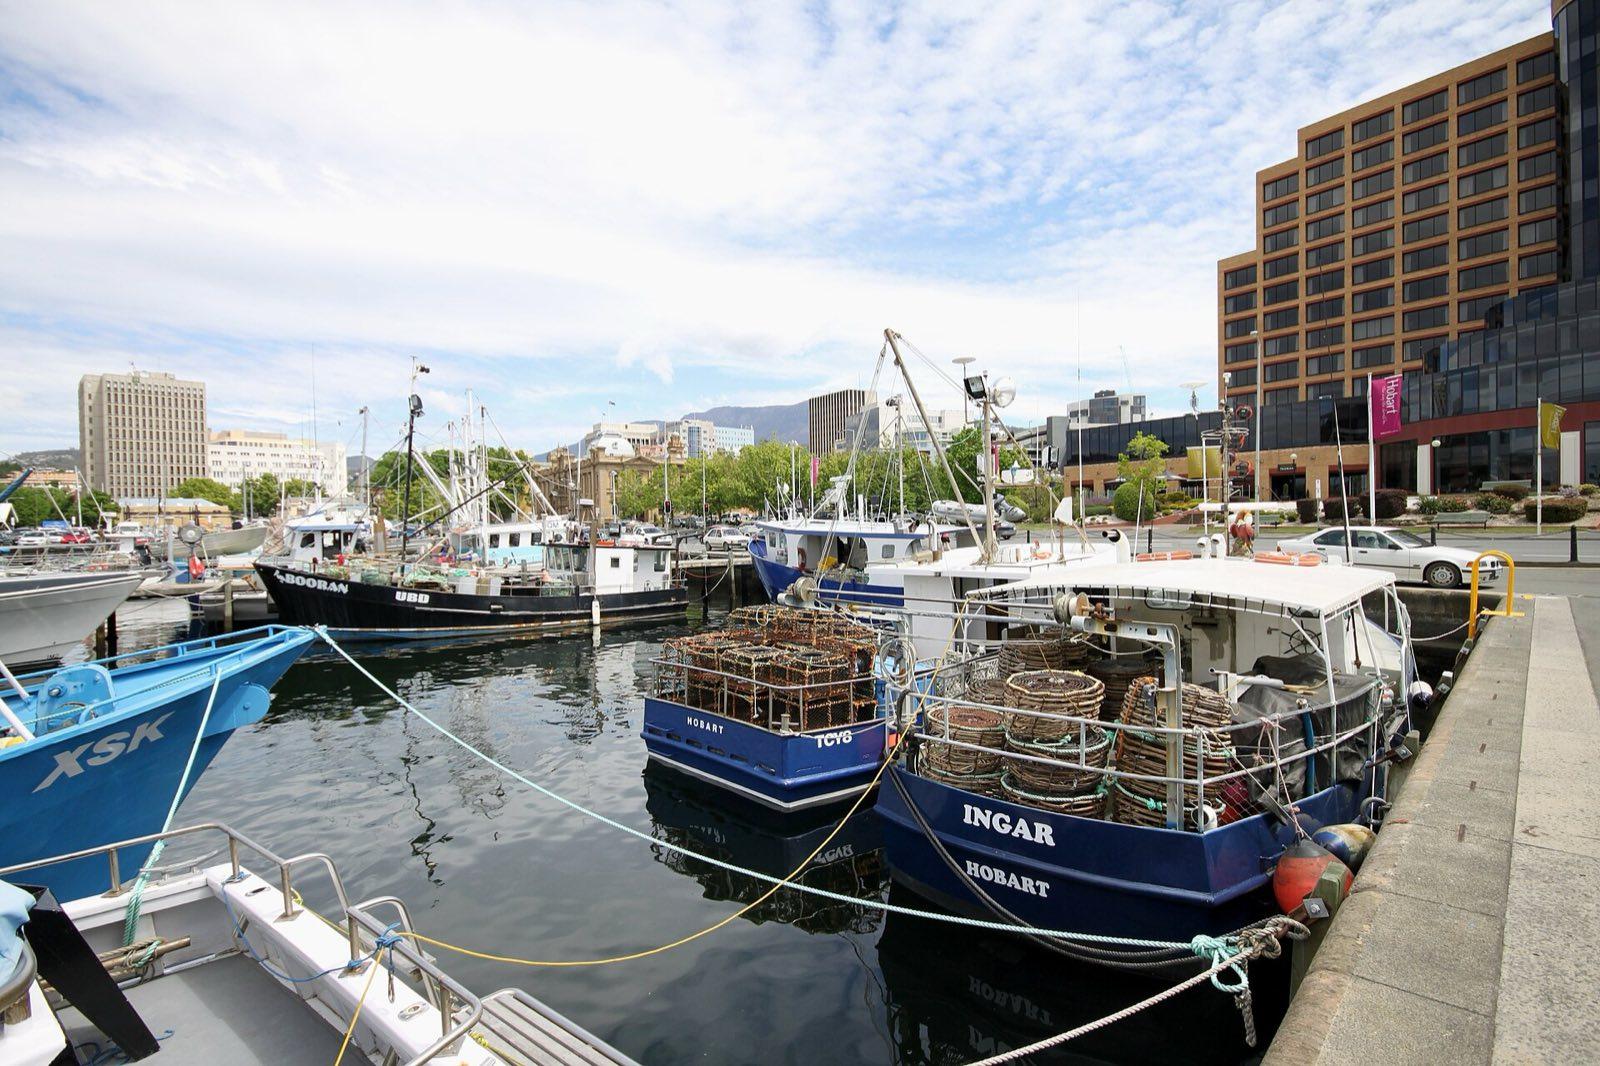
Fishing boats on the Hobart waterfront Photo: Tony 1212, CC BY 4.0, via Wikimedia Commons (https://commons.wikimedia.org/wiki/File:Hobart_waterfront_Nov_2011_-_6.jpg) Day 2: Bruny Island
Hobart to Kettering, the ferry to Bruny Island, Cape Bruny Lighthouse and The Neck, then back to Hobart
- Drive about 4 h
- Breakfast and lunch
- Stay in Hobart
Day 2 details
We leave at 8:30 am and drive about 40 minutes south to Kettering for the 20-minute car ferry across the D'Entrecasteaux Channel to Bruny Island, which is really two islands joined by a thin sandy isthmus called The Neck. This is a full road day, about four hours at the wheel in all, at our cap, because the lighthouse sits at the far southern tip, about 75 minutes from the ferry, partly on gravel. So we go straight there while the light is clear: Cape Bruny Lighthouse, first lit in 1838, stands on the cliffs above the Southern Ocean, and we spend about an hour on the headland. Driving back north, we stop at The Neck, where a wooden staircase climbs to the Truganini Lookout, named for the Nuenonne woman born on the island, with water on both sides of the sand below. Lunch is a late, unhurried tasting of oysters farmed in the channel and cheese from a local maker on North Bruny. We are back in Hobart by about 5 pm, and the evening is free.
Included
- Car ferry from Kettering to Bruny Island and back
- Cape Bruny Lighthouse and South Bruny National Park
- Truganini Lookout at The Neck
- Oyster and cheese tasting lunch on North Bruny
Optional experiences
- A three-hour wilderness cruise along the sea cliffs of South Bruny from Adventure Bay, in place of the lighthouse leg (seasonal; price shown when you book)
Easier option: Wait at the foot of the steps at The Neck, and take the short lighthouse path at your own pace or stay by the vehicle.
Free time: Evening free in Hobart
Activity: About 4 hours on the road, the day at our cap, broken by the two ferry crossings (about 20 minutes each), an hour at the lighthouse, The Neck and a long lunch. Some South Bruny roads are gravel, and the lighthouse path is short but uphill.
Day 3: Port Arthur, then up the east coast
Hobart to the Tasman Peninsula and Port Arthur, then north via Swansea to Coles Bay and Freycinet
- Drive about 4.5 h
- Breakfast, lunch and dinner
- Stay in Coles Bay (Freycinet)
Day 3 details
This is the longest road day, and there is no way round it: Port Arthur sits at the end of the Tasman Peninsula and Freycinet is about three hours north, so we drive about four and a half hours in all, in three parts. We leave at 8 am and stop at Eaglehawk Neck for Tasman Arch and the sea chasm of Devil's Kitchen before reaching Port Arthur Historic Site mid-morning. Once a penal station for convicts who reoffended in the colony, it is now part of the UNESCO-listed Australian Convict Sites. Your entry includes an introductory walk with a site guide and a short harbour cruise past the Isle of the Dead; then we walk the Penitentiary, the Separate Prison and the church ruins with your own guide. Lunch is a sit-down meal at the site. In the afternoon we drive up the east coast, with a break at Swansea above Great Oyster Bay, and reach Coles Bay, under the pink granite of the Hazards, by about 5 pm. Before dinner we drive out to Cape Tourville, where a short boardwalk looks along the coast in the evening light.
Included
- Tasman Arch and Devil's Kitchen at Eaglehawk Neck
- Port Arthur Historic Site entry with the introductory walk and harbour cruise
- Guided walk of the Penitentiary, the Separate Prison and the church ruins
- Sit-down lunch at Port Arthur
- Cape Tourville boardwalk in Freycinet National Park
- Dinner at Coles Bay
Easier option: Stay with the harbour cruise and the gardens at Port Arthur and skip the longer walk round the ruins.
Activity: The longest drive of the trip, about 4.5 hours in three parts, broken by about four hours at Port Arthur and a stop at Swansea. Day 2 is about 4 hours; every other day is 3 hours or less.
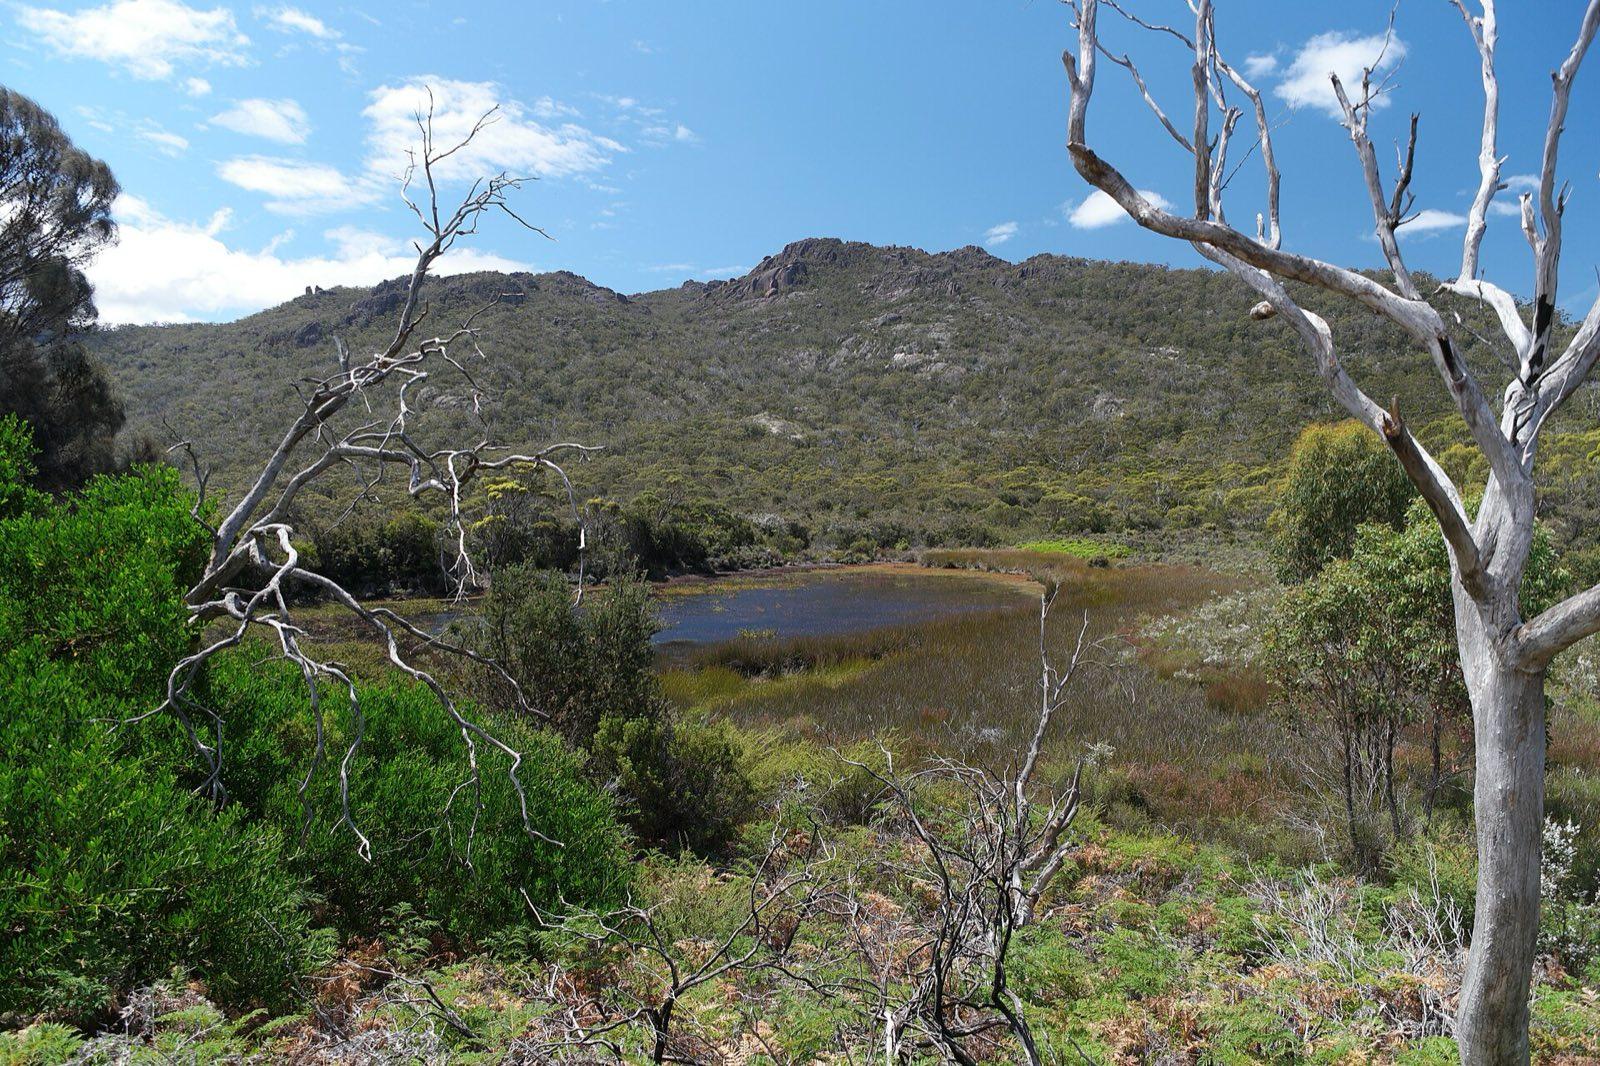
Heath and lagoon in Freycinet National Park Photo: Dhx1, CC0, via Wikimedia Commons (https://commons.wikimedia.org/wiki/File:Freycinet_National_Park,_Tasmania_15.jpg) Day 4: The Wineglass Bay walk
Coles Bay to the Wineglass Bay track in Freycinet National Park, then a free afternoon
- Drive about 18 min
- Breakfast and dinner
- Stay in Coles Bay (Freycinet)
Day 4 details
We are on the track from the Freycinet car park by about 8 am, before the day-trip coaches arrive from Hobart and Launceston and before the sun gets onto the climb. The path to the Wineglass Bay Lookout rises about a kilometre between granite boulders and she-oaks, with rock steps on the steeper parts, to the saddle between Mount Amos and Mount Mayson, where the curve of white sand opens up below. Most of the group go on down the steps to the beach itself, about an hour and a half there and back from the lookout, for a paddle in clear and very cold water. Lunch is your choice in Coles Bay, and the afternoon is free: sit on Richardsons Beach, take a kayak out on the bay or simply rest. Dinner tonight is together, and on most evenings there is the option of a little penguin tour at Bicheno, forty minutes up the coast.
Included
- Wineglass Bay Lookout walk with your guide, from about 8 am
- Walk down to Wineglass Bay beach
- Tasmania national parks pass
- Dinner at Coles Bay
Optional experiences
- Wineglass Bay cruise from Coles Bay (seasonal)
- Sea kayaking on Coles Bay
- Little penguin tour at Bicheno at dusk
- Prices for each are shown when you book
Easier option: Walk to the lookout only (1 to 1.5 hours return) and come back down for coffee by the bay.
More active option: Carry on from Wineglass Bay across the isthmus to Hazards Beach and back round the coast with your guide: about 11 km and 4 to 5 hours in all.
Free time: Afternoon free at Coles Bay
Activity: The lookout climb is steady and steep in places, on rock steps. The beach adds about 1,000 steps down and back up.
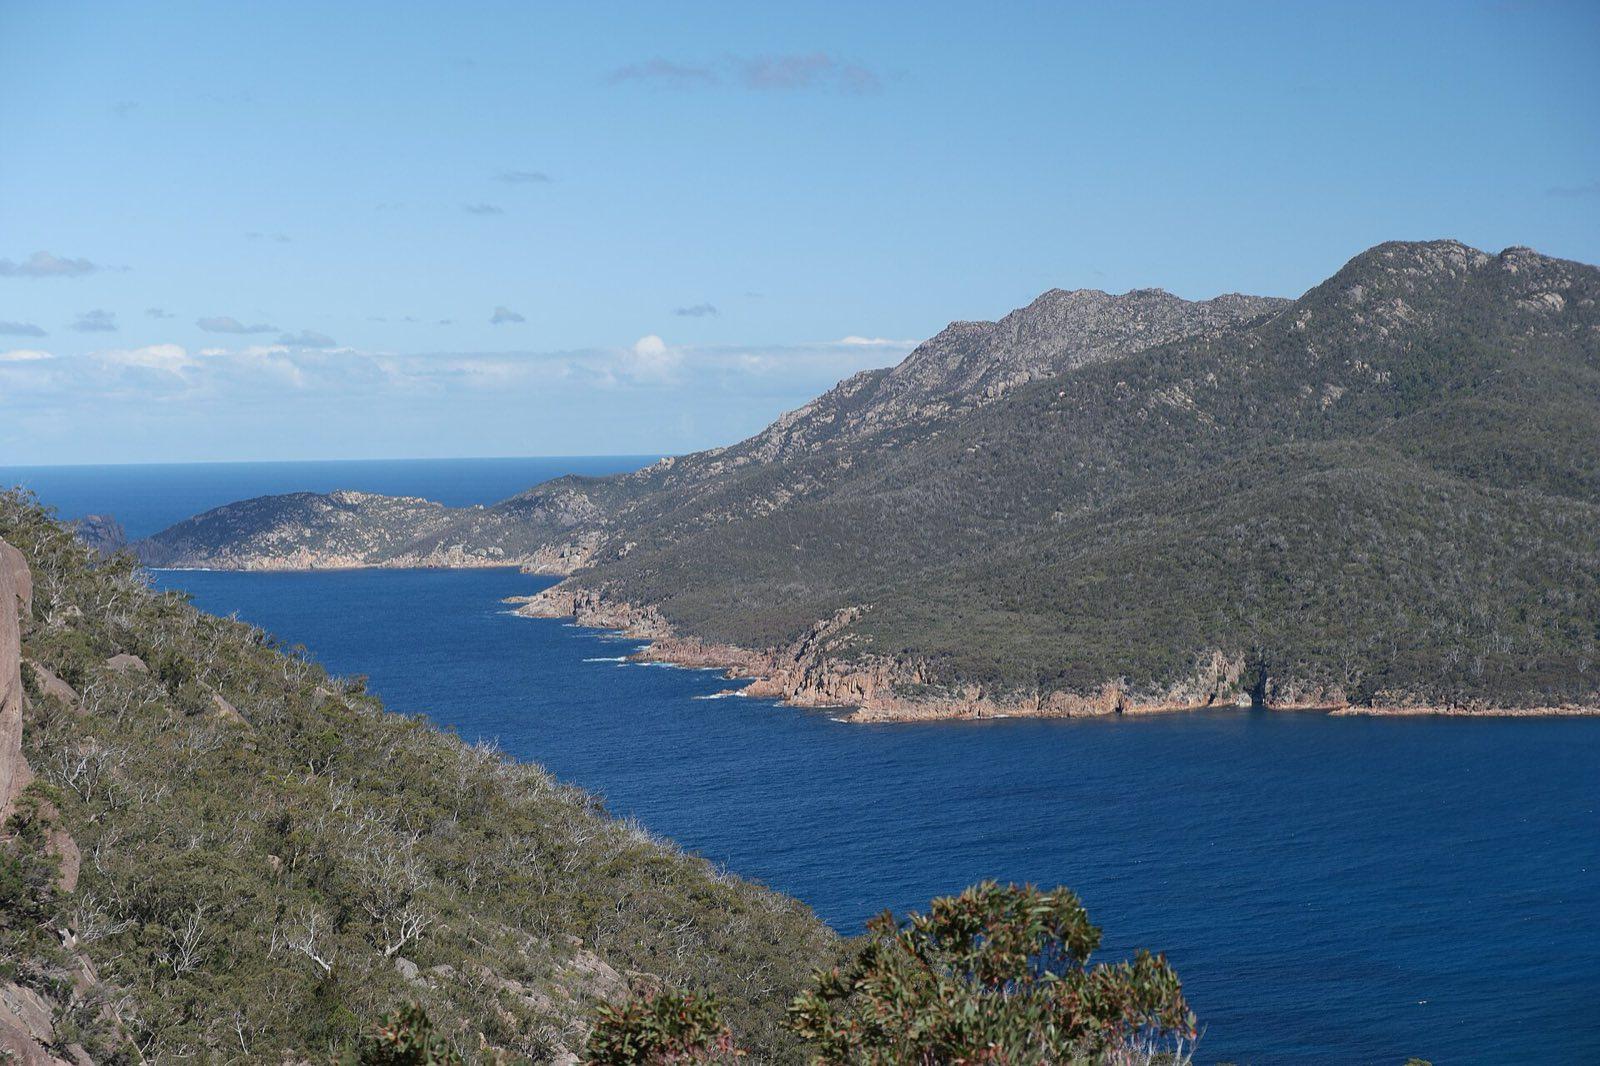
Wineglass Bay and the Freycinet Peninsula from the hillside above Photo: Dhx1, CC0, via Wikimedia Commons (https://commons.wikimedia.org/wiki/File:Freycinet_National_Park,_Tasmania_19.jpg) Day 5: Bicheno, Elephant Pass and Cataract Gorge
Coles Bay to Bicheno, over Elephant Pass to St Marys, then the Fingal Valley to Launceston
- Drive about 3 h
- Breakfast and lunch
- Stay in Launceston
Day 5 details
A short drive north takes us to Bicheno, a fishing town on the granite coast, where the blowhole throws spray across the rocks when the swell is up and the foreshore path runs past boulders patched with orange lichen. Then we turn inland and climb over Elephant Pass, a winding road through tall wet forest, to the small town of St Marys for a sit-down lunch. The afternoon drive follows the Fingal Valley and the South Esk River through sheep country to Launceston, Tasmania's second city, which we reach by about 3 pm. From the centre it is a fifteen-minute walk into Cataract Gorge, where the same river cuts through steep cliffs; we walk the path along the gorge to the Alexandra Suspension Bridge and the First Basin, where a free outdoor pool opens in summer. The evening is yours. Launceston is a UNESCO City of Gastronomy, and your guide will point you to a good table.
Included
- Bicheno blowhole and foreshore
- Elephant Pass
- Sit-down lunch in St Marys
- Cataract Gorge walk with your guide, to the Alexandra Suspension Bridge and the First Basin
Optional experiences
- The Cataract Gorge chairlift across the First Basin (price shown when you book)
Easier option: Walk the flat path to the suspension bridge and take the chairlift or a taxi back.
Free time: Evening free in Launceston
Activity: About 1.5 to 2 hours on foot in the gorge, with some steps.
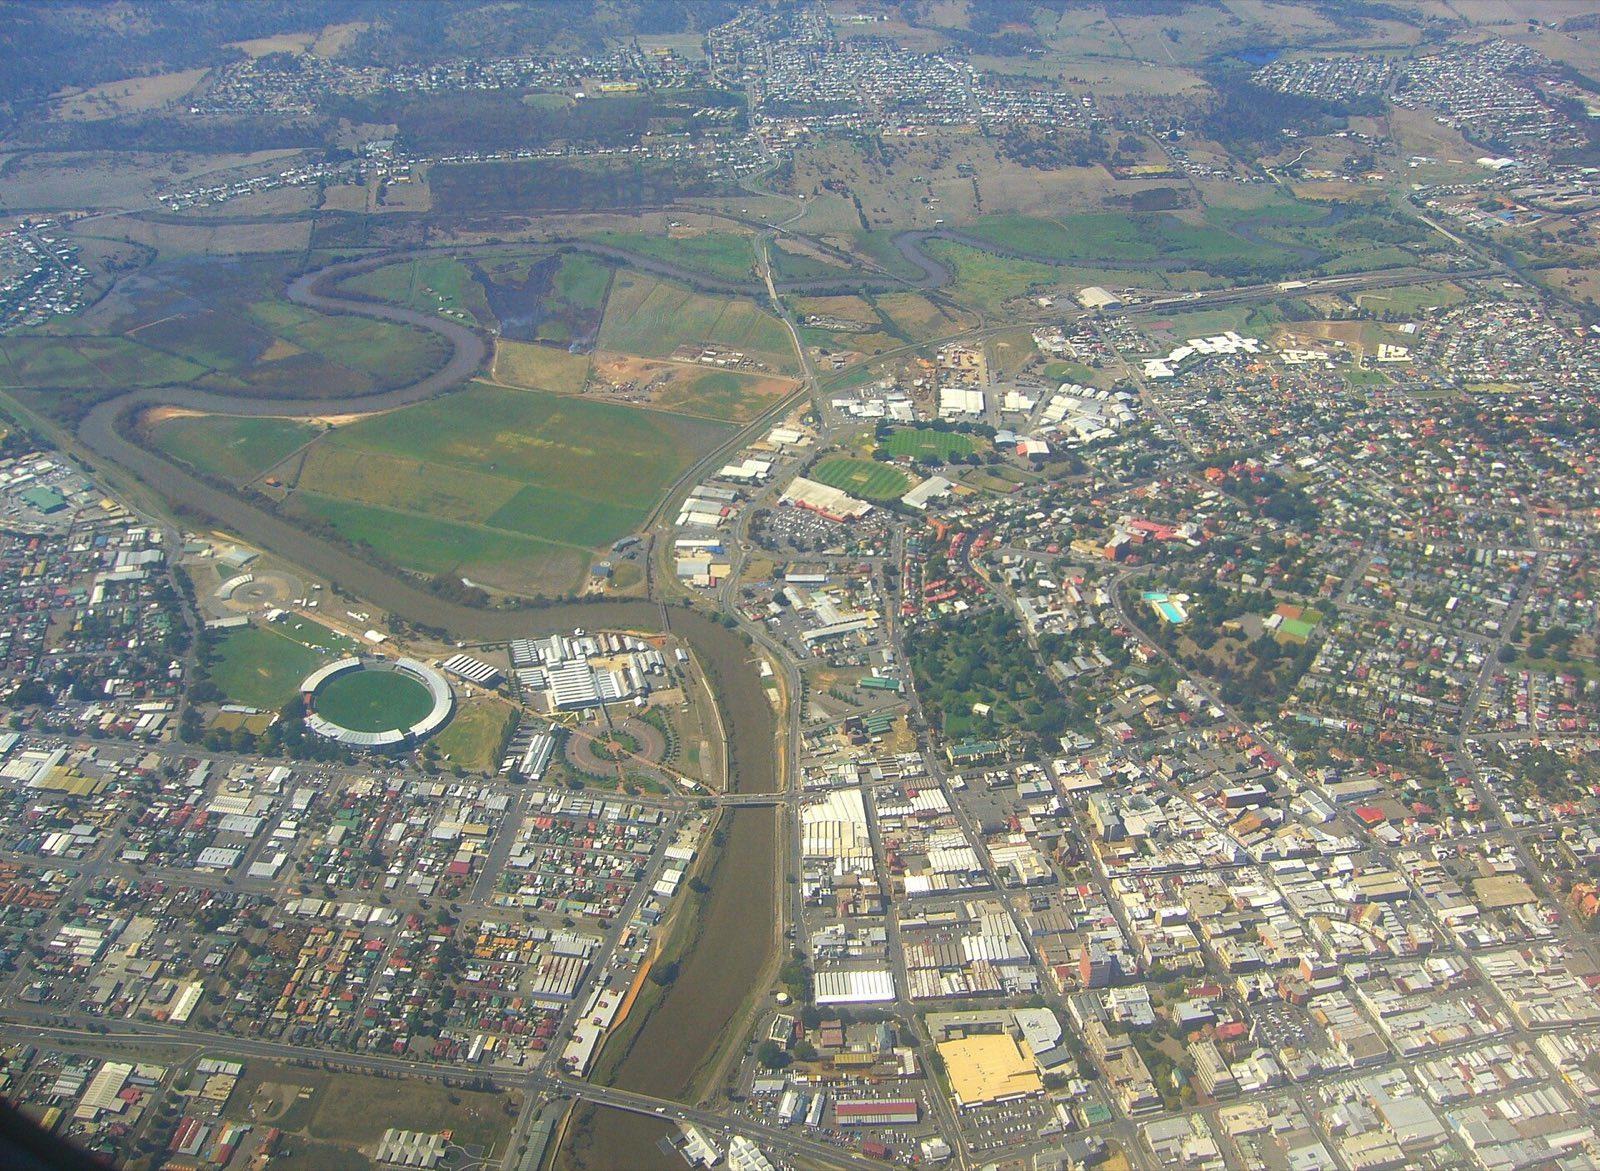
Launceston, where the day ends, seen from the air Photo: Philip Rickerby from Upper Hutt, New Zealand, CC BY 2.0, via Wikimedia Commons (https://commons.wikimedia.org/wiki/File:Aerial_view_of_Launceston.jpg) Day 6: Sheffield murals and on to Cradle Mountain
Launceston to Sheffield, then up to Cradle Mountain
- Drive about 2.5 h
- Breakfast and dinner
- Stay in Cradle Mountain
Day 6 details
We leave Launceston at about 9 am and drive west along the Meander Valley past Deloraine, with the Great Western Tiers rising to the south. Sheffield, under the bulk of Mount Roland, turned to murals in the 1980s to bring visitors back after the local economy faded; dozens of large paintings now tell the district's stories on its walls, and we spend an hour walking among them. From there the road climbs onto the plateau to Cradle Mountain, part of the Tasmanian Wilderness World Heritage Area, where we arrive around lunchtime and check in at the park edge, our base for two nights. In the afternoon a keeper takes us round a Tasmanian devil sanctuary near the park entrance and explains the facial tumour disease that has cut wild numbers, and how the sanctuary breeds healthy devils. At dusk we go out to Ronny Creek, where wombats graze the buttongrass flats in the open.
Included
- Sheffield murals walk
- Keeper tour at a Tasmanian devil sanctuary
- Ronny Creek at dusk for wombats
- Dinner at Cradle Mountain
Optional experiences
- An evening devil feeding tour at the sanctuary (price shown when you book)
Free time: Lunch and an hour or two free on arrival
Activity: Easy walking only. Dusk at Ronny Creek is cold even in summer; bring a warm layer.
Day 7: Dove Lake under Cradle Mountain
Cradle Mountain visitor centre to Dove Lake by park shuttle, the Dove Lake Circuit, then a free afternoon
- Breakfast, lunch and dinner
- Stay in Cradle Mountain
Day 7 details
We take one of the first park shuttle buses of the morning, which in season start at about 8:15 am, from the visitor centre to Dove Lake, where the jagged dolerite peaks of Cradle Mountain, 1,545 m at the summit, stand over the far shore. The Dove Lake Circuit runs about 6 km around the water, mostly on boardwalk and gravel, and takes two to three hours at an easy pace. It passes the old timber boatshed that appears in so many photographs, then enters the Ballroom Forest, a cool stand of myrtle beech and moss beneath the mountain. Early in the day the lake is often calm and the car park quiet. We come back for a sit-down lunch together, and the afternoon is free: rest by a fire, walk the short Enchanted Walk beside Pencil Pine Creek, or go back out on the shuttle alone. The weather up here changes fast and snow can fall in any month, so pack layers. Tonight is our farewell dinner.
Included
- Cradle Mountain park shuttle
- Dove Lake Circuit with your guide
- Sit-down lunch at Cradle Mountain
- Farewell dinner
Easier option: Walk the flat first section to the boatshed and back (about 45 minutes), then take the shuttle back early.
More active option: Climb from Dove Lake past Lake Lilla to Marions Lookout for the view down over the lake to the mountain, with your guide: steep, with a chain-assisted section, about 3 to 4 hours.
Free time: Afternoon free at Cradle Mountain
Activity: About 6 km on mostly level boardwalk and gravel. Rain gear and a warm layer in any season.
Day 8: Down to Launceston and home
Cradle Mountain to Launceston Airport (LST), or to Devonport for the ferry
- Drive about 2.5 h
- Breakfast
Day 8 details
After breakfast there is time for a last walk on the boardwalks around the park edge, then we drive back down off the plateau through the farmland and small towns of the north to Launceston Airport (LST), about two and a quarter hours, with a coffee stop in Deloraine on the way. We reach the airport at about 12:30 pm, so book a flight leaving after about 1:30 pm; Launceston has direct flights to Melbourne and Sydney, where most international connections start. If you are travelling on by the Spirit of Tasmania ferry to Victoria, we can drop you at Devonport instead, about an hour and a quarter from Cradle Mountain. If you would like more time on the island, ask us to add nights in Launceston or on the Tamar Valley wine route before you fly. Your guide sees you to the terminal and checks your flight before saying goodbye.
Included
- Drop-off at Launceston Airport (LST), or at Devonport for the Spirit of Tasmania ferry
Activity: Book a flight leaving Launceston after about 1:30 pm.
Wildlife and weather: We run from November to April, Tasmania's warm half. Hobart and Launceston are mild, around 20 to 24 C by day in midsummer, and evenings are long, with sunset after 8:30 pm around the new year. The east coast is the sunniest part of the island; Cradle Mountain is cooler and wetter, and it can snow there even in summer. Summer bushfires can close a road or a track; if one does, we reroute and tell you why. Wombats are very likely at Ronny Creek at dusk, and pademelons and wallabies are common everywhere we stay. Echidnas and white-bellied sea eagles are possible, and Bruny Island has white wallabies. Wild Tasmanian devils are rare and nocturnal, so we see them at a sanctuary.
7 nights
Where you'll stay
Your hotels are named in your trip confirmation.
- Hobart2 nights
- Coles Bay (Freycinet)2 nights
- Launceston1 night
- Cradle Mountain2 nights
One price
What's in the price
Included
Accommodation
- 7 nights in hotels and lodges of at least 3-star-plus standard, twin share: 2 in central Hobart, 2 at Coles Bay by Freycinet National Park, 1 in central Launceston and 2 at Cradle Mountain at the park edge
- Rooms shared, or your own for a supplement; we name each hotel when we confirm your dates
Transport
- Pick-up at Hobart Airport (HBA) and drop-off at Launceston Airport (LST), or at Devonport for the Spirit of Tasmania ferry
- A small coach or minibus with a licensed local driver for the whole trip
- Return ferry from Hobart to MONA
- Car ferry from Kettering to Bruny Island and back
- Cradle Mountain park shuttle buses
Your guide
- A See Sight Tours guide with the group from Hobart to Launceston
- A site guide on the Port Arthur introductory walk
- A keeper on the Tasmanian devil sanctuary tour
Activities
- MONA, Hobart
- Bruny Island: Cape Bruny Lighthouse and the Truganini Lookout at The Neck
- Tasman Arch and Devil's Kitchen, Tasman Peninsula
- Port Arthur Historic Site, with the introductory walk and harbour cruise
- Cape Tourville and the Wineglass Bay walk, Freycinet National Park
- Bicheno blowhole
- Cataract Gorge walk, Launceston
- Sheffield murals
- Tasmanian devil sanctuary keeper tour, Cradle Mountain
- Ronny Creek at dusk and the Dove Lake Circuit, Cradle Mountain
- Tasmania national parks pass
Meals
- 7 breakfasts
- 4 lunches: an oyster and cheese tasting on Bruny Island, at Port Arthur, in St Marys and at Cradle Mountain
- 5 dinners: a welcome dinner in Hobart, two at Coles Bay and two at Cradle Mountain, including a farewell dinner
Not included
- International flights, and flights to Hobart and from Launceston
- Australian ETA or eVisitor
- Travel insurance
- Lunches on days 1, 4, 6 and 8, and dinners in Hobart on day 2 and Launceston on day 5
- Drinks
- Optional activities: the Bruny Island cruise, a Wineglass Bay cruise, kayaking, the Bicheno penguin tour, the Cataract Gorge chairlift and the evening devil feeding tour
- Tips
- Personal expenses
Extras
- Room of your own
- CAD 970 (estimated price)

See Sight Tours has been providing travel services across North America since 2006. Operating in 20 cities across Canada and the USA, the company specializes in small group tours that offer personalized, high-quality experiences for travelers.


Book your Tour
Get in Touch
- Toll Free1-888-961-6584
- Local1-289-271-9767


© 2026 See Sight Tours. All rights reserved.